
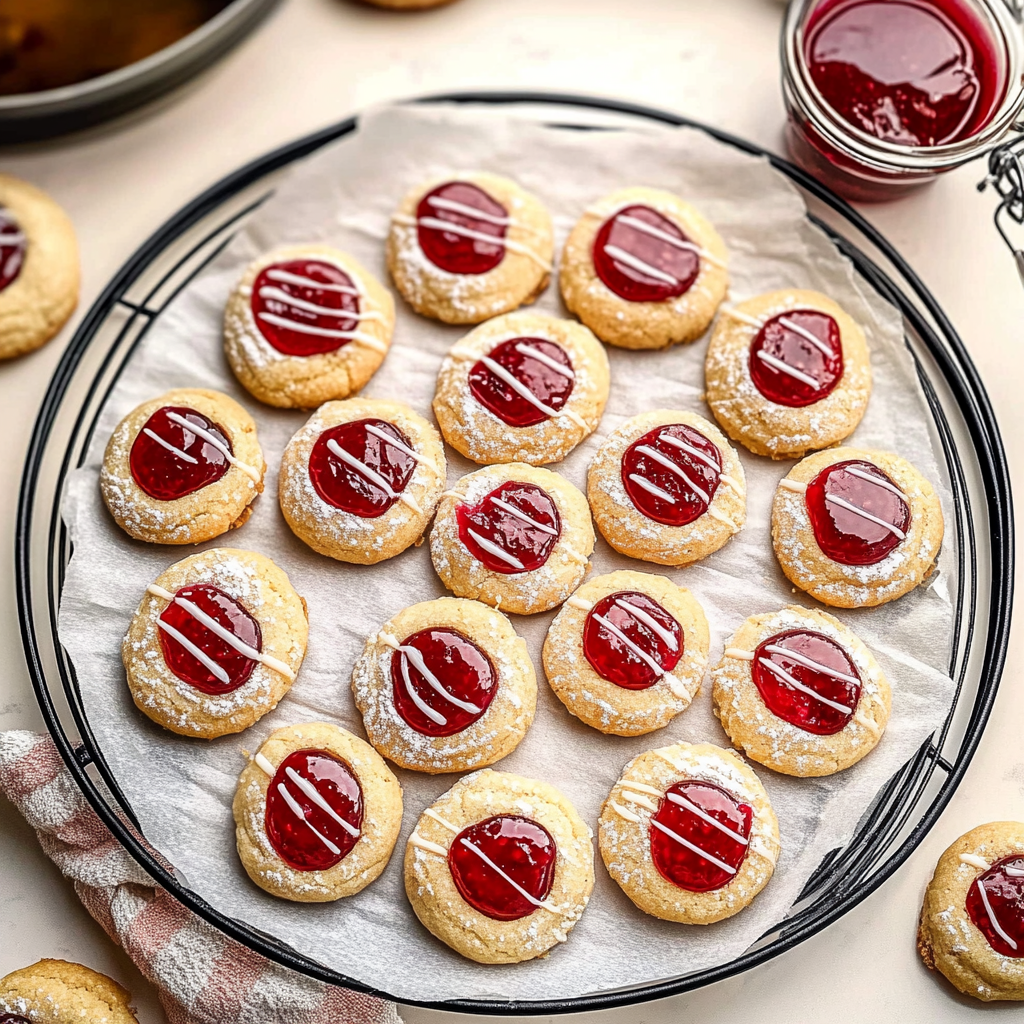
The aroma of fresh-baked Plum Jelly Thumbprint Cookies fills the air, instantly transporting you to a cozy kitchen filled with laughter and warmth. autumn-inspired desserts Picture this: buttery, melt-in-your-mouth cookies cradling a luscious dollop of sweet plum jelly, just waiting for your first bite.
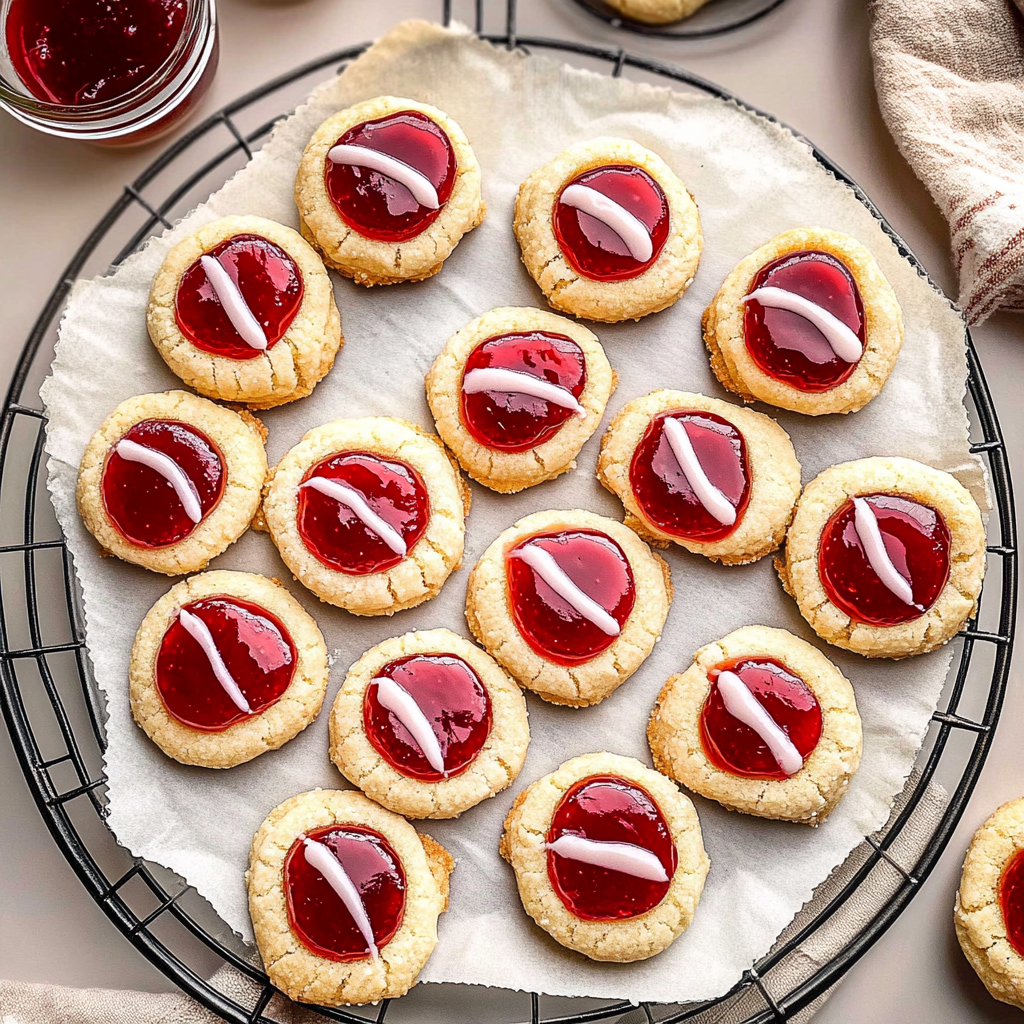
Every nibble is a delightful explosion of flavors and textures that dance on your palate, from the tender cookie base to the tangy sweetness of the jelly. These cookies are not just a treat; they’re a ticket to cherished memories shared around the table during holidays or family gatherings.
Why You'll Love This Recipe
- These Plum Jelly Thumbprint Cookies are incredibly easy to make, even for novice bakers
- Their vibrant color and shiny jelly filling make them visually stunning for any occasion
- The combination of buttery cookie and sweet plum creates an irresistible flavor profile everyone loves
- Perfect for holiday cookie swaps or simply enjoying with a cup of tea!
I once brought these cookies to a neighborhood party, and let me tell you, they were gone faster than I could say “thumbprint.” The delighted faces of my friends made all the flour-covered chaos in my kitchen worth it.

Essential Ingredients
Here’s what you’ll need to make this delicious dish:
- All-Purpose Flour: The backbone of any cookie recipe; sift it for lighter cookies if desired.
- Unsalted Butter: Use room temperature butter for easier mixing and that rich flavor we all love.
- Granulated Sugar: A touch of sweetness that balances perfectly with the tartness of the plum jelly. perfect party snacks.
- Egg Yolk: Adds richness and helps bind the ingredients together beautifully.
- Vanilla Extract: Use pure vanilla extract for an aromatic boost that enhances every bite.
- Plum Jelly: Choose your favorite brand or homemade if you’re feeling adventurous; it’s the star filling!
The full ingredients list, including measurements, is provided in the recipe card directly below.
Let’s Make it Together
Preheat Your Oven: Set your oven to 350°F (175°C). This ensures it’s hot enough to create those perfectly golden cookies.
Prepare Your Baking Sheet: Line a baking sheet with parchment paper, preventing any sticky situations during baking later on.
Create Your Cookie Dough: In a large bowl, cream butter and sugar until light and fluffy. Add egg yolk and vanilla extract, mixing until well combined.
Add Flour Gradually: Slowly incorporate flour into the mixture while stirring gently until everything is just combined. Avoid overmixing to keep the dough tender.
Shape Your Cookies: Roll dough into small balls about one inch in diameter. Place them on the prepared baking sheet with space between each ball.
Create Thumbprints: Gently press your thumb into each ball to create an indentation. Don’t worry about perfect circles; rustic is charming here!
Fill With Plum Jelly: Spoon plum jelly into each thumbprint until it’s filled but not overflowing—nobody wants a jelly lava situation in their oven!
Bake Away!: Place your baking sheet in the preheated oven and bake for 12-15 minutes. You want them lightly golden but still soft when you take them out.
Let these delightful Plum Jelly Thumbprint Cookies cool on a wire rack before devouring. Each bite transports you back to those special moments spent sharing treats with loved ones. healthy seasonal dishes Bake up some sweet memories today!
You Must Know
- Plum jelly thumbprint cookies are not only delicious but also a nostalgic treat
- The sweet, tangy plum jelly contrasts perfectly with the buttery cookie base, making each bite a delightful experience
- They’re easy to make and perfect for sharing at gatherings or enjoying with your morning coffee
Perfecting the Cooking Process
Preheat your oven to 350°F (175°C) and prepare your baking sheets with parchment paper. Mix your cookie dough thoroughly before rolling them into balls for even baking. Create thumbprints in the center before baking to hold that delicious plum jelly.
Add Your Touch
Feel free to swap out the plum jelly for other flavors like raspberry or apricot. You can also add a sprinkle of lemon zest in the dough for an extra zing. unique flavor combinations Personalizing these cookies makes them uniquely yours!
Storing & Reheating
Store your plum jelly thumbprint cookies in an airtight container at room temperature for up to a week. If you want them warm again, pop them in the microwave for a few seconds, and enjoy that gooey goodness! For more inspiration, check out this Mascarpone Stuffed Dates recipe.
Chef's Helpful Tips
- Consider chilling the dough for 30 minutes if it’s too sticky; it makes rolling easier
- Don’t overfill the thumbprint with jelly, or it will overflow while baking
- Lastly, let cookies cool completely before storing to prevent sogginess!
Baking these cookies reminds me of my grandmother’s kitchen filled with laughter and sweet aromas. She always claimed that the secret ingredient was love—though I suspect it was her never-ending supply of butter!

FAQ
Can I use different types of jelly for thumbprint cookies?
Absolutely! Any fruit jelly or preserve works well in this recipe.
How do I prevent my cookies from spreading too much?
Chilling the dough before baking helps maintain their shape during cooking.
What can I serve with plum jelly thumbprint cookies?
These cookies pair wonderfully with tea, coffee, or even a scoop of vanilla ice cream!

Plum Jelly Thumbprint Cookies
- Total Time: 30 minutes
- Yield: Approximately 24 cookies 1x
Description
Plum Jelly Thumbprint Cookies are a delightful treat that combines buttery, melt-in-your-mouth cookie dough with a luscious dollop of sweet plum jelly. These cookies are not only visually stunning but also incredibly easy to make, making them perfect for any occasion—from holiday gatherings to afternoon tea. Each bite offers a perfect balance of flavors and nostalgia, inviting memories of warm kitchens filled with laughter.
Ingredients
- 2 cups all-purpose flour
- 1 cup unsalted butter (room temperature)
- 3/4 cup granulated sugar
- 1 large egg yolk
- 2 tsp pure vanilla extract
- 1 cup plum jelly
Instructions
- Preheat your oven to 350°F (175°C) and line a baking sheet with parchment paper.
- In a large bowl, cream together the butter and sugar until light and fluffy. Mix in the egg yolk and vanilla extract.
- Gradually add the flour, stirring gently until combined. Avoid overmixing.
- Roll dough into one-inch balls and place them on the prepared baking sheet, leaving space between each.
- Use your thumb to create an indentation in each ball and fill with plum jelly.
- Bake for 12-15 minutes until lightly golden but still soft. Let cool on a wire rack before serving.
- Prep Time: 15 minutes
- Cook Time: 15 minutes
- Category: Dessert
- Method: Baking
- Cuisine: American
Nutrition
- Serving Size: 1 cookie (28g)
- Calories: 130
- Sugar: 8g
- Sodium: 45mg
- Fat: 8g
- Saturated Fat: 5g
- Unsaturated Fat: 2g
- Trans Fat: 0g
- Carbohydrates: 13g
- Fiber: <1g
- Protein: 1g
- Cholesterol: 20mg


Pingback: Dark Protein Cookies